Follow Me On Social Media!

Butterfinger Cake Bliss: Indulgent Treat for Sweet Lovers
Introduction to Butterfinger Cake
Butterfinger Cake is more than just a dessert; it’s a delightful journey back to simpler times, where the scent of baked goods wafting from the oven filled the air. It brings forth memories of childhood kitchens, crowded family gatherings, and the sweet joy of sharing a delicious treat with loved ones. As we explore the world of Butterfinger Cake, we’ll discover not only a recipe but also the emotions tied to homemade desserts that can evoke nostalgia in even the busiest of lives.
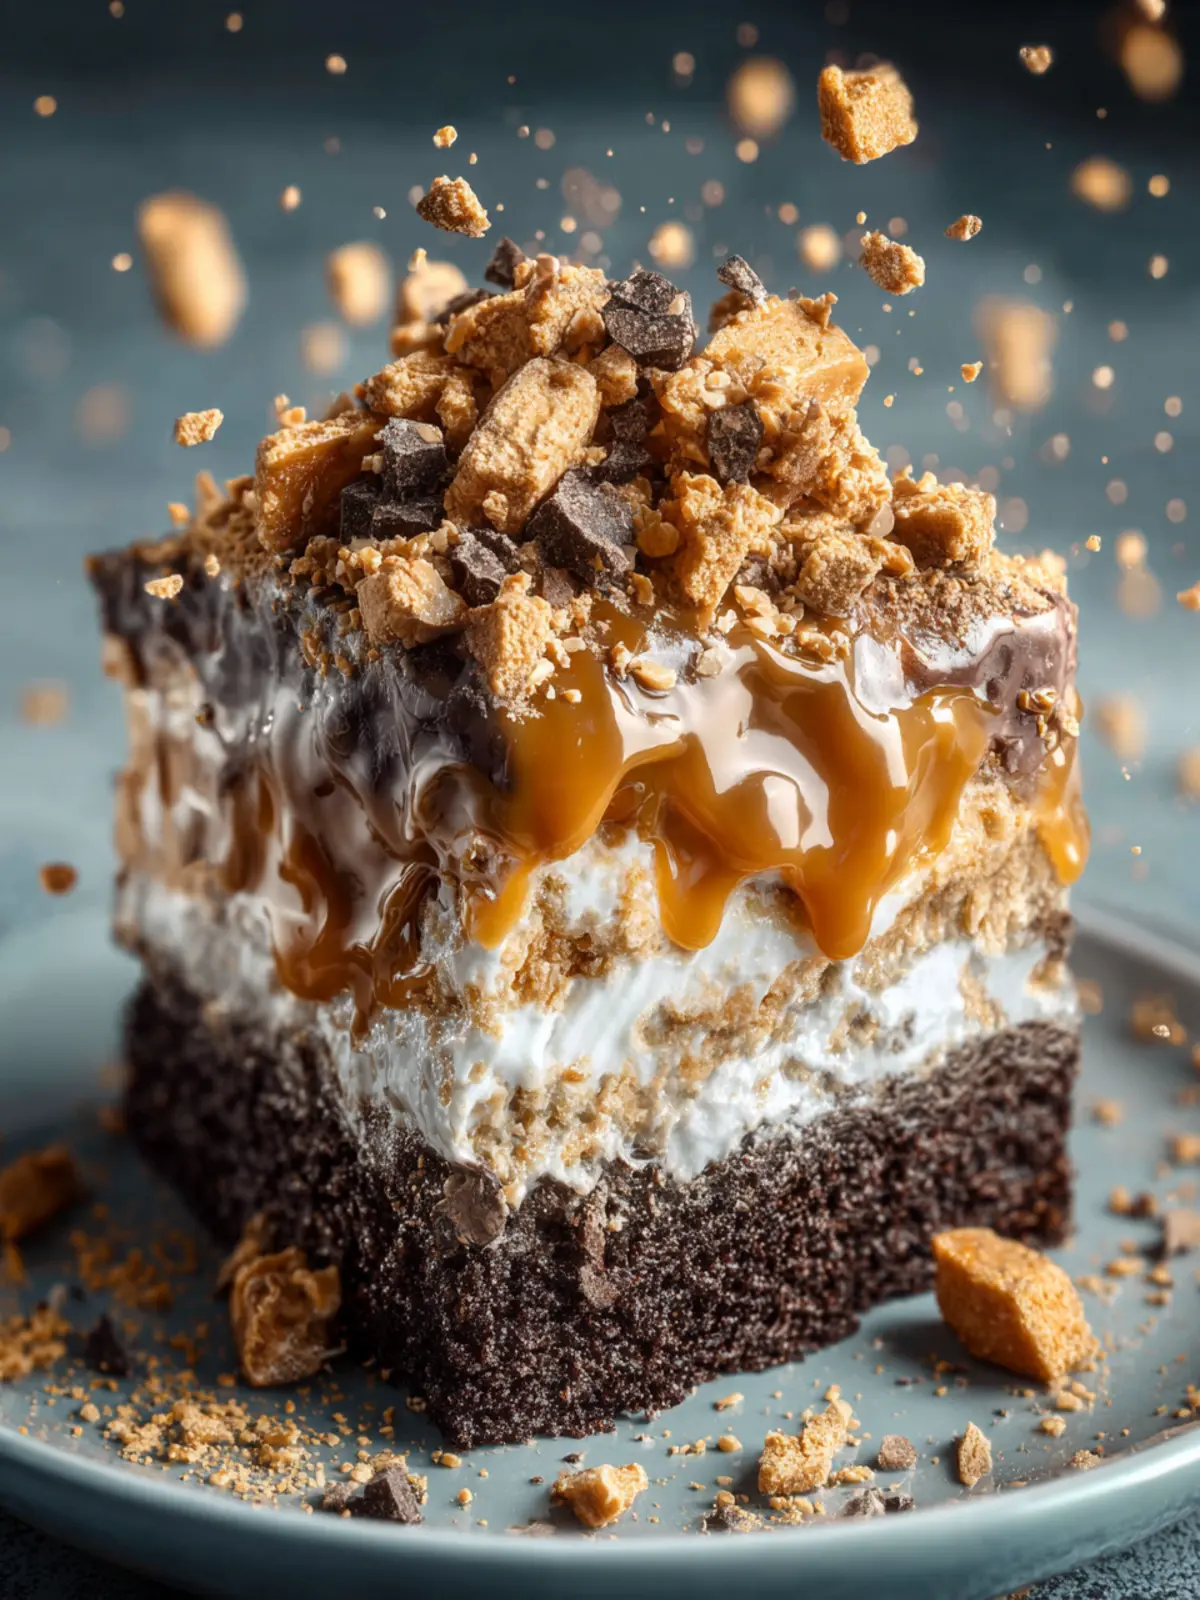
Imagine pulling a warm cake from the oven, its edges slightly crisp and the center perfectly moist. The luscious filling made with Butterfinger candy bars and cream creates an irresistible layer that oozes goodness with each slice. What makes this cake truly special is how it captures the flavors of that iconic candy bar while being versatile enough for any occasion—be it a casual weeknight or a festive celebration.
The nostalgia of homemade desserts
Homemade desserts like Butterfinger Cake have a unique allure. It’s the kind of baking that reminds us of family recipes passed down through generations, often accompanied by laughter and stories. Perhaps you have a fond memory of baking alongside a parent or grandparent, the two of you creating a sweet masterpiece together. These moments are precious, and they often become the inspiration behind the desserts we create today.
This cake isn’t just about the flavors; it’s about the experience. The act of baking can be deeply therapeutic, allowing us to step away from our bustling lives and gather our thoughts. While mixing, measuring, and pouring, we can find solace in the simplicity of combining ingredients into something beautiful. And when the oven timer goes off, the anticipation builds, reminding us that good things come to those who wait.
So, as we dive into the specifics of making Butterfinger Cake, let’s cherish the memories tied to this delightful creation. Trust me, your kitchen will quickly fill with the sweet, buttery aroma of nostalgia that will leave everyone wanting more!
Key Ingredients for Butterfinger Cake
Creating the perfect Butterfinger Cake is like crafting a little piece of nostalgia; it envelops you in the irresistible flavors of everyone’s favorite candy bar. By gathering the right ingredients, you can transform a simple cake into a decadent dessert that will have everyone asking for seconds.
-
Butter: The luscious richness of butter is crucial in this recipe. Not only does it contribute to a tender crumb, but using unsalted butter gives you better control over the flavor, allowing the sweetness of the cake to shine through.
-
Granulated Sugar: A classic choice for sweetening your cake, granulated sugar helps create that delightful texture. It blends with the butter to give the cake its airy structure.
-
Eggs: Eggs are the magic ingredient. They not only bind the ingredients together but also provide moisture and richness. A tip? Make sure they’re at room temperature for optimal mixing.
-
All-Purpose Flour: This serves as the backbone of your Butterfinger Cake. It provides structure, and sifting it ensures a lighter cake.
-
Baking Powder: This leavening agent helps the cake rise, creating that fluffy texture we all love.
-
Crushed Butterfinger Bars: The star of the show! These add a delicious crunch and a rich peanut butter flavor. Don’t skimp on this ingredient; the more, the merrier!
With these key components, your Butterfinger Cake will not only taste divine but will also evoke delightful memories. Happy baking!
Why You’ll Love This Butterfinger Cake
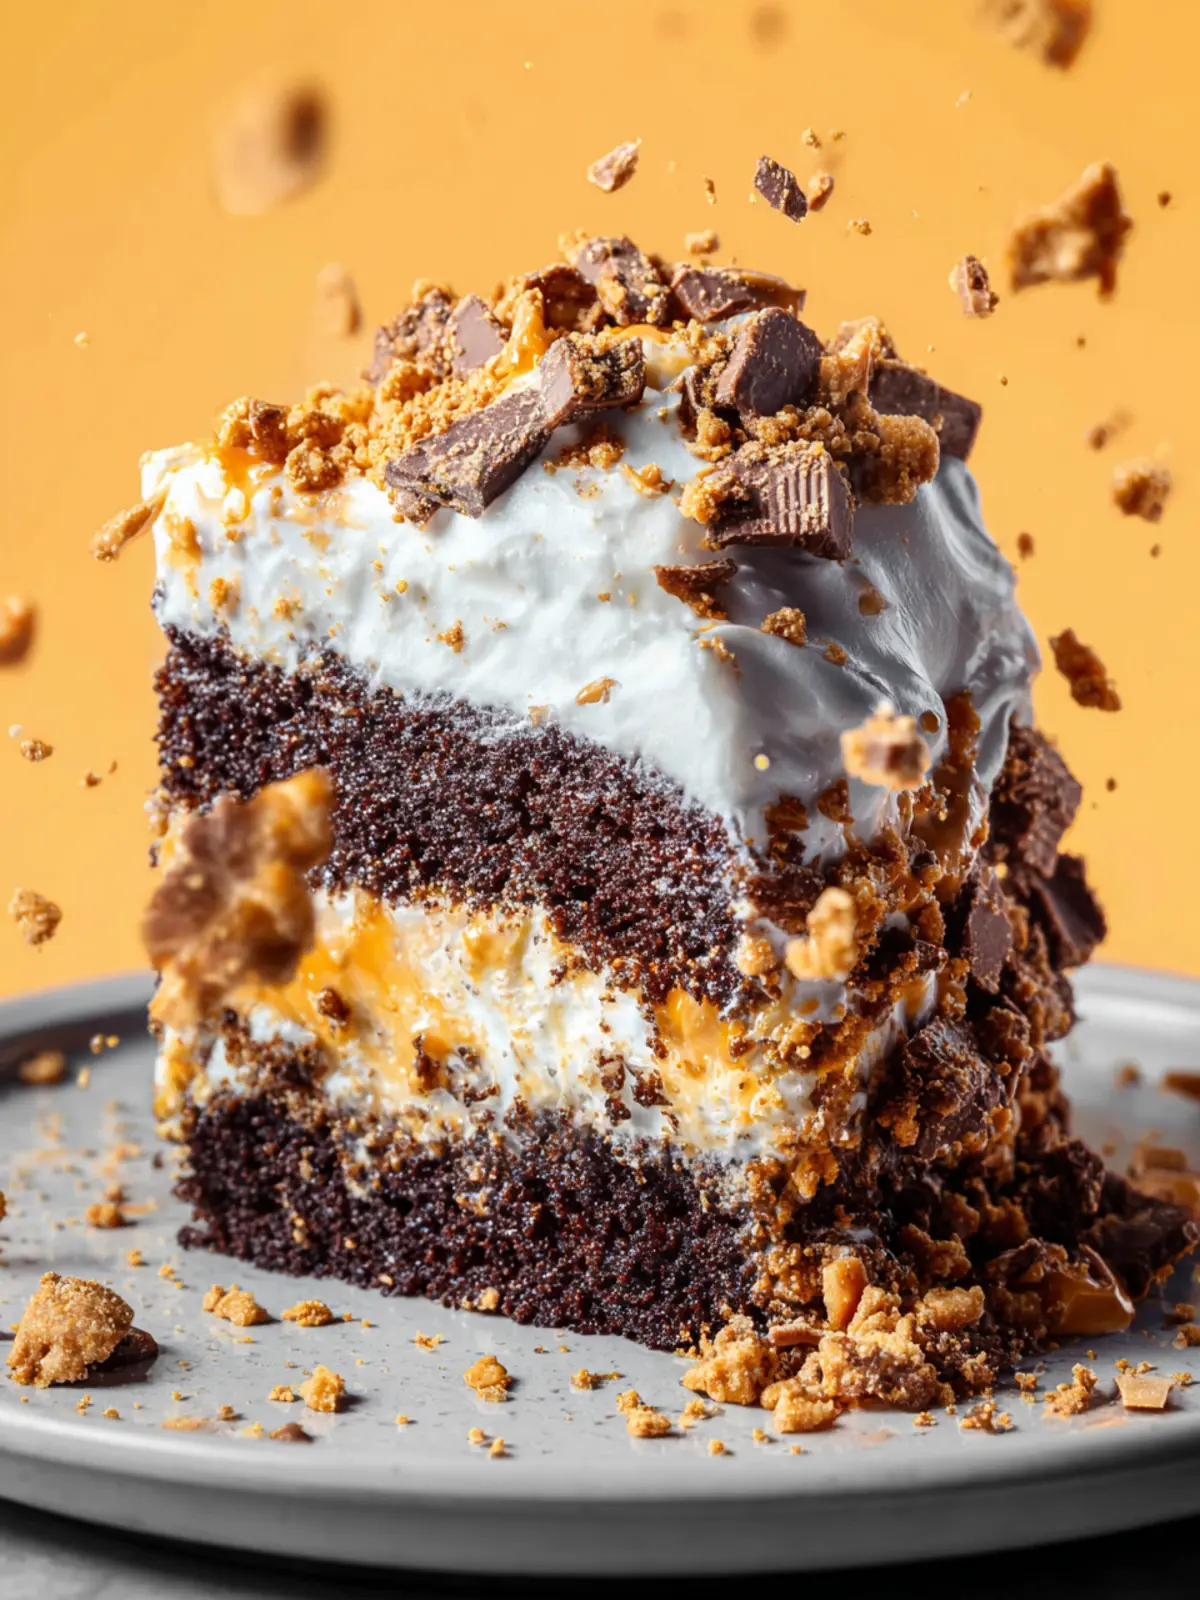
As you bite into this delightful Butterfinger Cake, you’ll immediately understand why it has become a favorite for so many. The combination of rich chocolate cake and fluffy peanut butter frosting is not just indulgent; it’s a nostalgia trip that brings back memories of candy bars shared with friends during childhood.
Imagine hosting a gathering where your friends take that first bite and are instantly transported to simpler times. With its moist layers and creamy frosting laced with crushed Butterfinger bars, this cake is sure to create a buzz around any dessert table.
Here’s what truly sets this cake apart:
- Decadent Frosting: The peanut butter frosting is smooth, rich, and perfectly complements the chocolate layers. It’s the kind of frosting that puts store-bought versions to shame.
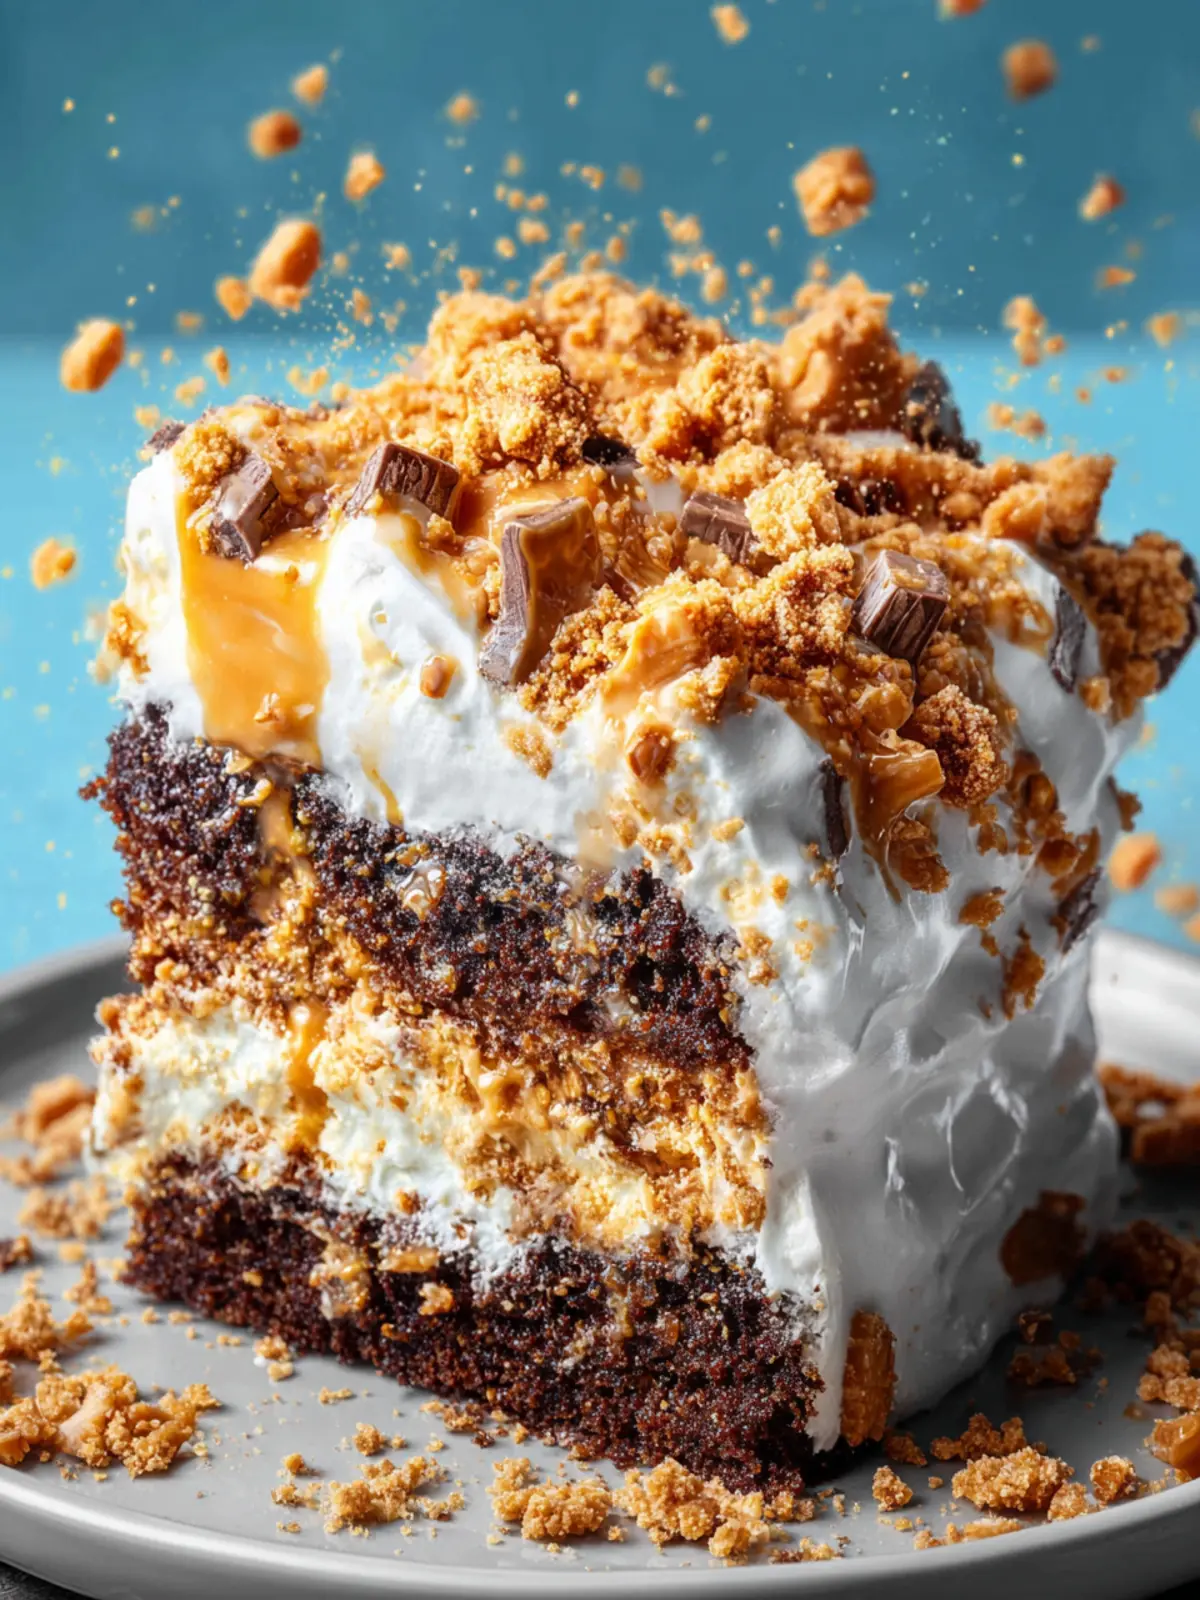
- Crunchy Toppings: Are you ready for that satisfying crunch? The crushed Butterfinger bars sprinkled on top add an irresistible texture and sweetness that elevates this cake to the next level.
- Easy to Make: You don’t need to be a baking expert to whip up this masterpiece. The straightforward recipe allows anyone to shine in the kitchen.
Whether it’s for a birthday celebration or just a treat for yourself, you’ll find that this Butterfinger Cake not only tastes amazing but also brings smiles and laughter to your gatherings!
Cooking Tips and Notes for Butterfinger Cake
Finding the perfect Butterfinger Cake can feel like a treasure hunt, where flavor and nostalgia meet in every bite. Here are some invaluable tips to ensure your cake turns out wonderfully every time.
Selecting the Best Ingredients
-
Butter: For an ultra-rich flavor, opt for unsalted butter. It allows you to control the salt content in your recipe. Make sure it’s softened to room temperature to blend easily into your batter.
-
Cake Mix: While a standard yellow cake mix works wonders, experimenting with a butter-flavored cake mix can elevate the butteriness of your Butterfinger Cake.
-
Crushed Butterfinger Bars: The star of this recipe! For that perfect crunch and caramel flavor, slightly chill the bars before crushing. This makes them easier to work with.
Tips for Baking Success
-
Mixing: To avoid overmixing, combine your ingredients until just blended. This keeps your cake tender and moist.
-
Layering: Don’t be shy with layering your crushed Butterfinger bars between the cake layers and the frosting. Each bite should scream indulgence!
-
Cooling: Allow the cake to cool completely before frosting. A warm cake can melt your frosting, leading to a less-than-perfect presentation.
With these tips, your Butterfinger Cake is sure to impress, whether it’s a special occasion or just an everyday treat! Enjoy the process and happy baking!
Serving Suggestions for Butterfinger Cake
The rich, creamy layers of a Butterfinger Cake offer a divine experience, perfect for sharing at gatherings or enjoying on a cozy night in. Here are some delightful serving suggestions that will elevate your cake experience:
-
Pair it with Ice Cream: Vanilla or chocolate ice cream offers a cool contrast to the rich flavors of your Butterfinger Cake. A scoop on the side can create a splendid dessert duo.
-
Garnish with Whipped Cream: A dollop of freshly whipped cream adds a lovely lightness. Consider sprinkling some crushed Butterfinger candy on top for an extra crunch and sweet surprise.
-
Serve with Fresh Berries: Fresh berries, like strawberries or raspberries, introduce a tart balance that complements the cake’s sweetness beautifully. Their vibrant color also enhances the plate’s presentation.
-
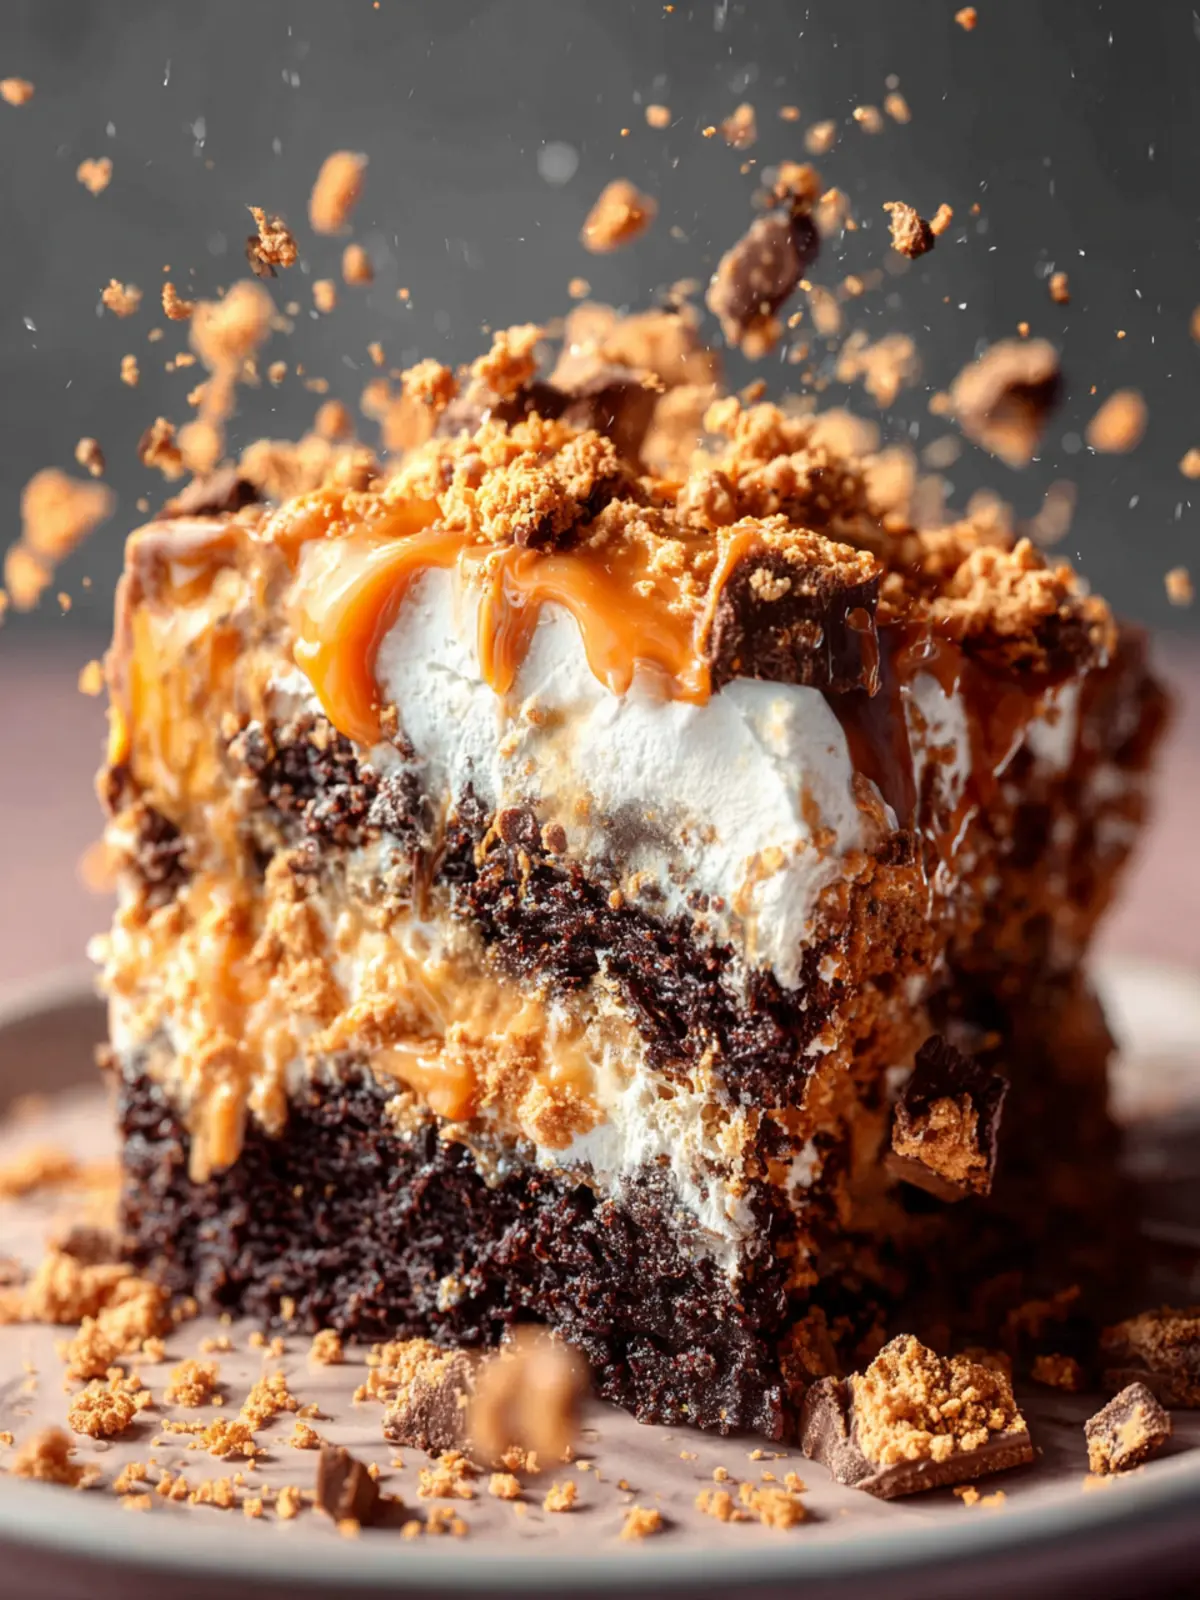
Drizzle with Caramel Sauce: A warm drizzle of caramel sauce over the slice can amplify the flavors, creating a sumptuous finish that’s utterly irresistible.
With these serving ideas, your Butterfinger Cake will not only stand out on your dinner table but also satisfy every sweet tooth craving around. Enjoy!
Time Breakdown for Butterfinger Cake
Crafting a mouthwatering Butterfinger Cake is not only a delight but a process that rewards you with deliciousness and sweet memories. Let’s break down the time you’ll invest in this scrumptious treat.
Preparation Time
Expect to dedicate about 20-30 minutes for all your prep work. This includes gathering ingredients, mixing the batter, and getting everything ready for baking.
Cooking Time
The baking portion takes around 30-35 minutes. You’ll want to keep an eye on your cake as it transforms into a golden brown masterpiece in the oven.
Total Time
Overall, you’re looking at approximately 50-65 minutes from starting to finish. That’s not too long for the rich, peanut butter-chocolate bliss that awaits you!
Nutritional Facts for Butterfinger Cake
Understanding the nutritional facts of Butterfinger Cake can help you enjoy this delightful dessert in moderation while appreciating its decadent flavors. This cake is rich and indulgent—a true treat for the sweet tooth.
Calories
A typical slice of Butterfinger Cake contains approximately 350 calories. Indulging in this sweet slice is a delightful moment to savor, even on a busy day!
Protein
Each slice provides about 4 grams of protein, primarily from the eggs and milk used in the recipe. While it’s not a protein powerhouse, it contributes a little extra to your daily intake.
Sugar
With around 30 grams of sugar per serving, this cake is definitely on the sweeter side. Treat yourself occasionally, and remember that moderation is key to enjoying desserts like this without guilt.
FAQ about Butterfinger Cake
Butterfinger Cake is a delightful blend of rich flavors and textures, perfect for any occasion. Whether you’re hosting a party or just treating yourself, it’s bound to be a hit. Here are some common questions you might have while making this irresistible dessert.
Can I use a different type of cake mix?
Absolutely! While a classic vanilla or yellow cake mix really complements the Butterfinger Cake flavors, you can opt for chocolate or even a gluten-free mix if needed. Just keep in mind that the overall taste may slightly differ depending on your choice.
How do I store leftovers?
If you find yourself with leftover Butterfinger Cake, store it in an airtight container in the refrigerator. It’s best consumed within 3-4 days, although it rarely lasts that long! The cake can lose moisture if left uncovered.
Can I freeze Butterfinger Cake?
Yes, you can freeze Butterfinger Cake! Be sure to wrap it tightly in plastic wrap and then in aluminum foil. This way, it can last up to 2-3 months in the freezer. When you’re ready to enjoy it, just let it thaw in the fridge overnight.
What can I substitute for peanut butter?
If you’re looking for alternatives, try using almond butter or sunflower seed butter for a different nutty flavor. These options still provide creaminess without compromising the cake’s essence.
Why is my cake too dry?
A common reason for dryness is overbaking. Make sure to check for doneness a few minutes earlier than the recipe suggests. Additionally, using room temperature ingredients helps retain moisture, so don’t skip that step!
Conclusion on Butterfinger Cake
In reflecting on the delightful experience of making Butterfinger Cake, it’s clear how this dessert has a special place in our hearts and kitchens. Each layer offers a scrumptious balance of flavors—from the moist, rich cake to the luscious frosting and the crunchy Butterfinger bits that take it to the next level.
Whether you’re celebrating a milestone or simply indulging on a cozy weekend, this cake is a guaranteed crowd-pleaser. Don’t hesitate to get creative with it—experiment with toppings and serving styles. Make this Butterfinger Cake a staple at your gatherings, and enjoy the smiles it brings to friends and family alike!
Print
Chocolate Peanut Butter Cake
- Total Time: 1 hour 50 minutes
- Yield: 12 servings 1x
- Diet: None
Description
This rich chocolate cake topped with creamy peanut butter whipped cream and crushed Butterfingers is a delightful treat for any occasion.
Ingredients
Scale
- 1 chocolate cake, baked in a 9×13” pan
- 1 recipe caramel sauce, or one 16oz jar caramel topping
- 7 ounces sweetened condensed milk
- 1 1/2 cups heavy whipping cream
- 1 ½ Tablespoons creamy peanut butter
- 1/4 cup powdered sugar
- 3 Butterfinger bars, chopped
Instructions
- Bake cake in a 9×13” pan according to recipe directions. Allow cake to cool for a few minutes, then poke holes in it with a fork or wooden skewer.
- Pour caramel sauce and sweetened condensed milk all over the top of the cake. Set aside to cool completely.
- Topping: Add the peanut butter and powdered sugar to a mixing bowl and mix until smooth. While mixing, slowly pour in whipping cream. Whip until stiff peaks form, and it holds its shape.
- Finish: Spread the peanut butter whipped cream over the cooled cake and sprinkle crushed Butterfingers on top. Refrigerate for at least 1 hour, or up to one day, before serving.
Notes
- For best results, refrigerate the cake before serving to help the whipped cream set.
- This cake can be stored in an airtight container in the refrigerator for up to 3 days.
- Prep Time: 20 minutes
- Cook Time: 30 minutes
- Category: Dessert
- Method: Baking
- Cuisine: American
Nutrition
- Serving Size: 1 slice
- Calories: 350
- Sugar: 28g
- Sodium: 180mg
- Fat: 22g
- Saturated Fat: 10g
- Unsaturated Fat: 9g
- Trans Fat: 0g
- Carbohydrates: 36g
- Fiber: 1g
- Protein: 5g
- Cholesterol: 80mg