Follow Me On Social Media!


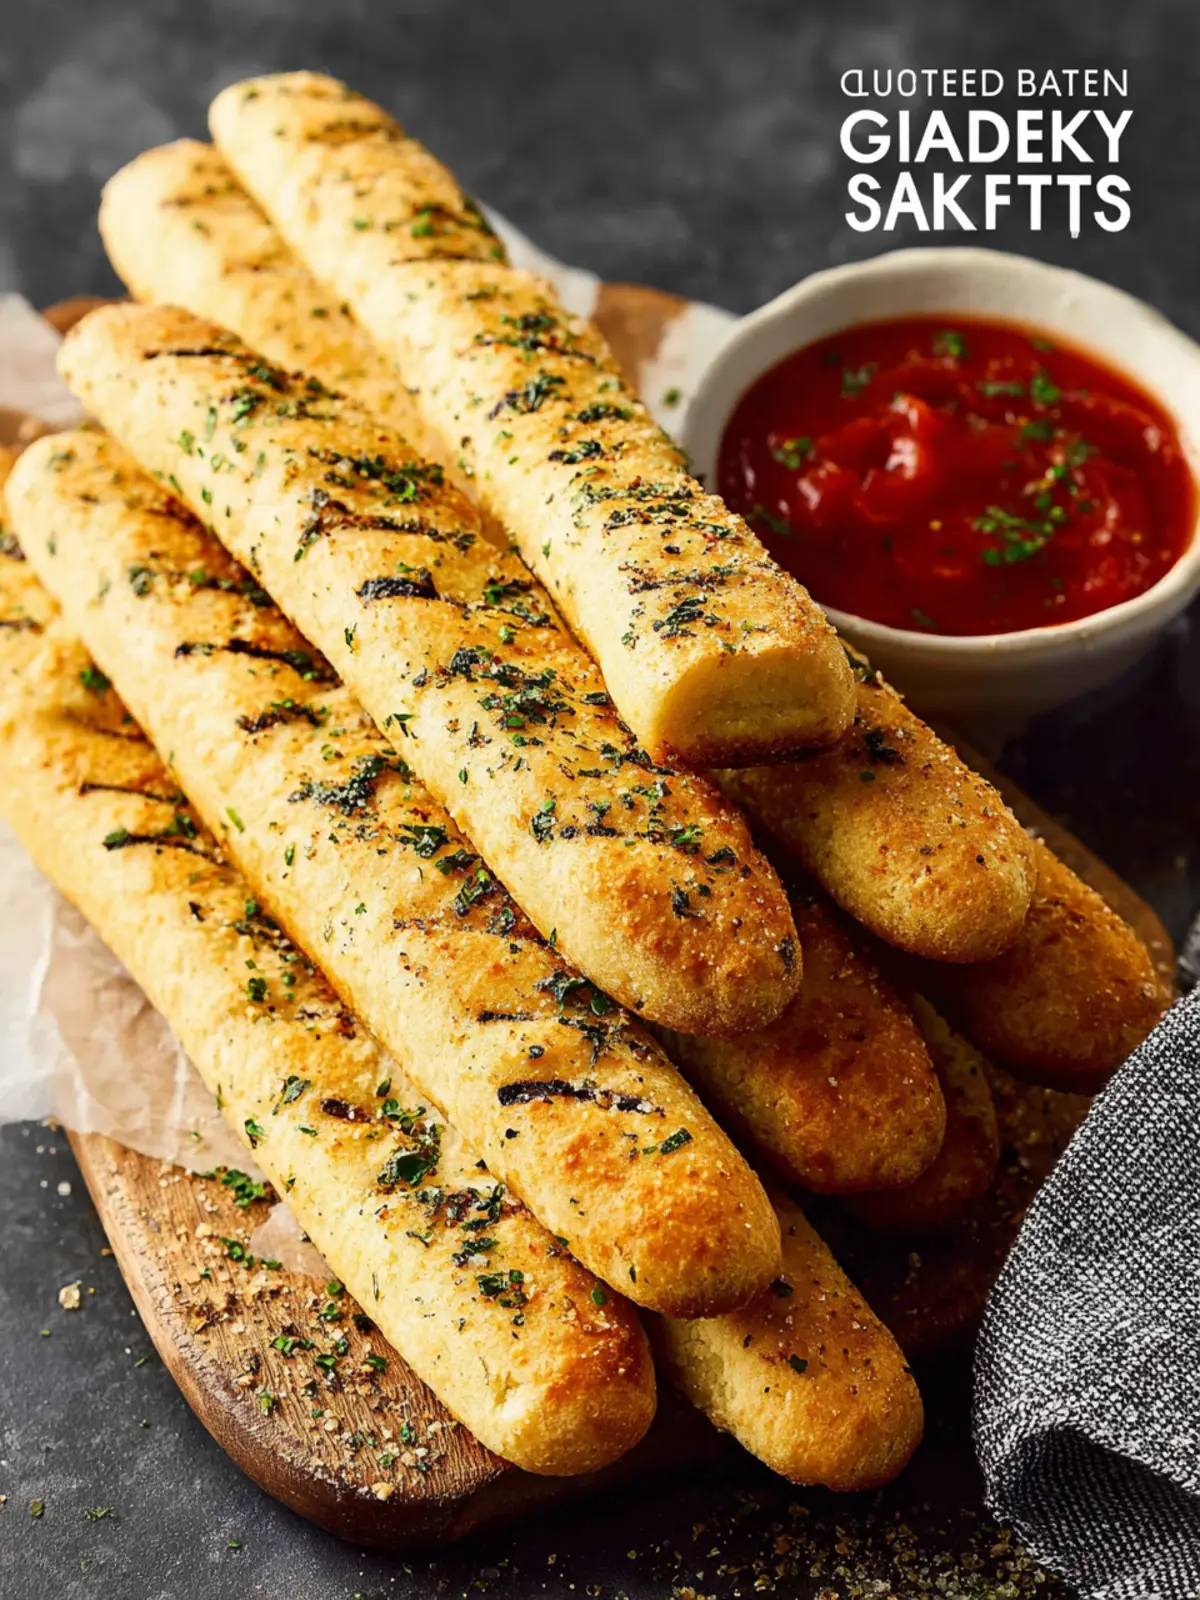
Gluten Free Breadsticks You’ll Crave Like Olive Garden’s
Introduction to Gluten Free Breadsticks (Olive Garden Style)
Picture a cozy evening, the aroma of freshly baked breadsticks wafting through the air, warm and inviting. That’s the magic of gluten free breadsticks, reminiscent of the beloved Olive Garden experience. These delightful treats bring the same buttery goodness and herbaceous flavors to your kitchen without the gluten. Trust me, once you make these, you’ll be tempted to whip up a batch every time you want to treat yourself or impress your friends.
But what really sets these breadsticks apart? It’s not just about the nostalgia—they embody a perfect blend of textures and flavors that seem to dance on your palate. Light and airy on the inside, with a slightly crispy crust on the outside, they are a beautiful canvas for that rich garlic flavor. The secret lies in a thoughtful combination of gluten-free flours and a special blend of seasonings. You see, crafting the perfect gluten free version doesn’t mean sacrificing taste or texture. Instead, it’s about using the right ingredients that not only mimic the traditional style but elevate the experience altogether.
What Makes These Breadsticks Irresistible?
-
Fluffy Texture: The use of gluten-free flour ensures your breadsticks are light and fluffy, satisfying your craving for that classic breadstick experience.
-
Garlic Butter Glaze: A rich, buttery glaze with garlic and herbs elevates these gluten free breadsticks to an entirely new level. It’s that finishing touch that keeps you reaching for just one more!
-
Perfect Cooking Method: Baking them at the right temperature creates a delightful contrast between a crunchy exterior and a soft, fluffy center. The moment you pull them out of the oven, the aroma alone will have your mouth watering.
These gluten free breadsticks embody a sense of warmth and comfort, perfect for pairing with your favorite pasta dishes or even enjoyed alone as a snack. Imagine the delight on your friends’ faces as they take their first bite, totally unaware they are gluten-free. It’s an experience you won’t want to miss!

Key Ingredients for Gluten Free Breadsticks Olive Garden Style
Creating gluten free breadsticks that rival those from Olive Garden is all about choosing the right ingredients to ensure flavor and texture.
-
Gluten-Free Flour Blend: For the base, I often use a gluten-free all-purpose blend that contains xanthan gum. This blend provides the essential structure and elasticity that gluten would typically lend. The right mix gives the breadsticks a chewy, satisfying texture.
-
Yeast: Fresh yeast is crucial for that golden rise. It activates the dough and contributes to the breadsticks’ lightness. It’s like giving them a little energy boost!
-
Olive Oil: Not only does olive oil keep the dough moist, but it also adds a robust flavor that pairs beautifully with herbs. It’s one of those simple ingredients that can really elevate your breadsticks.
-
Garlic Powder and Herbs: To give the breadsticks that quintessential flavor, a sprinkle of garlic powder along with dried Italian herbs like oregano or basil works wonders. It’s like taking a bite right out of Tuscany!
-
Salt: A crucial ingredient that enhances all the flavors in your breadstick. It balances the sweetness of the dough and makes every bite irresistible.
When these ingredients unite, they transform your kitchen into a cozy Italian eatery, bringing that delightful Olive Garden experience straight to your table.
Why You’ll Love These Gluten Free Breadsticks
Imagine sinking your teeth into a warm, fluffy breadstick that transports you to your favorite Italian restaurant, without a worry about gluten. These gluten free breadsticks are not just a treat for those with dietary restrictions; they’re a delightful addition to any meal. You’ll find them perfectly crispy on the outside and soft on the inside, creating the ultimate dipping experience for marinara or garlic butter.
Wholesome Ingredients for Flavor
One of the reasons you’ll fall head over heels for these breadsticks is the use of simple, wholesome ingredients. The blend of gluten-free flour creates a texture that rivals traditional breadsticks, making them ideal for pairing with soups, salads, or as a snack on their own. You might even find yourself reaching for a second… or third!
Homemade Dough Magic
Let’s take a moment to appreciate the beauty of homemade dough. As you mix, knead, and shape your breadsticks, the aroma alone will have everyone in your house guessing what culinary magic is underway. Plus, the satisfaction of making something from scratch is a reward in itself.
Embark on the journey of creating these gluten free breadsticks, and enjoy every bite of this deliciously satisfying treat!

Variations on Gluten Free Breadsticks
Crafting gluten free breadsticks opens up a world of creative possibilities that can transform your dining experience. Let’s dive into some delicious variations that elevate these buttery delights.
Add Savory Herbs
For an extra burst of flavor, consider mixing in fresh or dried herbs. Rosemary and thyme pair beautifully with the breadstick dough, while oregano brings a hint of Mediterranean flair. Just a teaspoon of your preferred herb can transform the taste, making them perfect for any meal.
Cheesy Goodness
Who doesn’t love cheese? Incorporating grated parmesan or shredded mozzarella into your gluten free breadsticks can yield a deliciously cheesy crust. Simply fold the cheese into the dough or sprinkle it on top just before baking for a deliciously golden finish.
Garlic Infusion
Garlic lovers will rejoice with this variation. Infusing your gluten free breadsticks with roasted garlic or minced garlic mixed into melted butter can create a rich, aromatic flavor. Brush it generously on the sticks right before serving to enhance that garlicky goodness.
Spice it Up
If you’re in the mood for something with a kick, consider adding red pepper flakes or a dash of cayenne pepper. These spices will lend a lovely heat that contrasts beautifully with the bread’s buttery notes. Just remember to adjust according to your heat preference!
Sweet Surprise
For those looking for a unique take, try incorporating a touch of honey or maple syrup to the dough. This subtle sweetness can create a delightful contrast, especially when paired with savory dishes or dips.
With these variations, your gluten free breadsticks will never be boring, making them a staple for casual dinners or festive gatherings. Enjoy experimenting!
Cooking Tips and Notes for Gluten Free Breadsticks
Crafting gluten free breadsticks that rival the ones from Olive Garden can feel daunting, but with the right techniques and a sprinkle of patience, you’ll be surprised at how delightful they can turn out.
-
Ingredient Quality Matters: Using high-quality gluten-free flour blends can elevate your breadsticks. Opt for blends that contain xanthan gum or guar gum, as they help replicate the elasticity you find in traditional bread.
-
Mixing Techniques: When combining your dry and wet ingredients, be careful not to overmix. Gluten-free flours lack elasticity, and excessive mixing can lead to denser breadsticks. Aim for a smooth consistency without lumps, then stop.
-
Resting Time: Letting the dough rest for at least 30 minutes can improve texture. This allows the flour to absorb moisture fully, leading to a more pliable dough.
-
Oven Temperature: Preheat your oven properly. A hot oven (around 425°F) ensures a quick crust formation while keeping the insides soft.
-
Experiment with Toppings: While garlic butter is classic, don’t shy away from adding herbs or cheese. They add an extra layer of flavor that takes your gluten free breadsticks to the next level.
With these tips, you’re well on your way to mastering homemade gluten free breadsticks that everyone will love. Happy baking!
Serving Suggestions for Gluten Free Breadsticks
Gluten free breadsticks are a delightful addition to any meal, elevating the dining experience whether it’s a cozy family dinner or a casual gathering with friends. Here are some creative ways to serve them:
Dipping Delights
Pair your gluten free breadsticks with a variety of dips. Classic marinara, creamy Alfredo, or roasted garlic butter are all excellent choices. You could even whip up a homemade pesto for a fresh and zesty twist.
Accompany Your Entree
Serve these breadsticks alongside your favorite Italian dishes. They complement pastas beautifully, soaking up that delicious sauce. Imagine enjoying them with a fragrant bowl of spaghetti or as a side to chicken parmesan.
Add a Salad
For a lighter option, consider adding a refreshing salad to the mix. A simple arugula salad with a lemon vinaigrette balances the richness of the breadsticks, making for a satisfying meal.
Snack Time!
Don’t underestimate their potential as a snack. Gluten free breadsticks can be enjoyed warm and crispy on their own or with a side of hummus or guacamole for a tasty treat during movie night or a game day gathering.
Incorporating gluten free breadsticks into your meals opens up a world of culinary possibilities, making every occasion a delicious one.
Time Breakdown for Gluten Free Breadsticks
Creating delicious gluten free breadsticks that replicate that irresistible Olive Garden style requires a bit of attention to timing. Here’s a quick look at the time commitment involved, ensuring your dining experience is perfect!
Preparation Time
Getting everything ready for your gluten free breadsticks takes about 15 minutes. Measure out your dry ingredients, mix the wet ones, and combine them all into a dough that’s fit for your table.
Rising Time
Patience is key! Let your dough rise for approximately 1 hour. This step is crucial, as it allows the dough to develop that light and airy texture you crave.
Baking Time
Once your dough has risen beautifully, the baking process is quick. You’ll need to pop those gluten free breadsticks in the oven for about 15-20 minutes, until they turn golden brown and inviting.
Total Time
From start to finish, you’re looking at around 1 hour and 35 minutes. The wait will be worth every savory bite!
Nutritional Facts for Gluten Free Breadsticks
When it comes to enjoying gluten free breadsticks, knowing their nutritional profile can help you make informed choices. Perfect as a snack or side dish, these breadsticks pack a balanced nutritional punch.
Calories
Each serving of these gluten free breadsticks contains approximately 150-200 calories, making them a satisfying yet manageable addition to your meal.
Protein
With about 3-5 grams of protein per serving, these breadsticks can complement your diet without overshadowing your protein-rich dishes.
Carbohydrates
Ranging from 30-35 grams of carbohydrates, these breadsticks offer energy to keep you going through your day while supporting your gluten-free lifestyle.
Fiber
You can expect around 1-2 grams of fiber in each serving. While they may not be fiber powerhouses, they still provide a little boost to your daily intake.
These gluten free breadsticks not only satisfy cravings but fit neatly into a balanced diet!
FAQs about Gluten Free Breadsticks
Creating gluten free breadsticks can spark a lot of questions, whether you’re new to gluten-free cooking or looking to refine your technique. Let’s dive into some common inquiries you might have about these delightful, chewy treats!
Can I use other flours?
Absolutely! While the recipe primarily calls for a gluten-free all-purpose flour blend, alternative flours like almond flour or coconut flour can be great as well. However, using these will alter the texture and flavor, so if you’re experimenting, be sure to check the proportions—your breadsticks might turn out denser or drier if you’re not careful!
How do I store leftover breadsticks?
Storing your gluten free breadsticks is quite easy. Simply place them in an airtight container, and they’ll stay fresh for about 2-3 days at room temperature. If you want to keep them longer, consider refrigerating them, though this may slightly alter their texture.
Can I freeze these breadsticks?
Yes, freezing is a fantastic option! Just make sure to wrap each individual breadstick in plastic wrap and then place them in a freezer-safe bag. They’ll last for up to three months. When it’s time to enjoy, simply thaw them at room temperature and reheat in the oven for that fresh-baked taste.
Are these breadsticks suitable for vegans?
Yes, these gluten free breadsticks can easily be made vegan! If your recipe includes ingredients like butter or dairy, simply substitute with plant-based alternatives like olive oil and almond milk. They’ll still be delicious and perfect for everyone at the table!
Ready to whip up some breadsticks? With these tips in hand, you’re set to impress at your next gathering!
Conclusion on Gluten Free Breadsticks
Creating these delicious gluten free breadsticks allows you to indulge in a beloved classic without the gluten. Each batch brings the familiar warmth and comfort of classic Italian dining right into your kitchen. Their delightful texture and savory flavor make them perfect for dipping in marinara or pairing with a hearty pasta dish.
As a bonus, these breadsticks are versatile enough to complement a variety of meals, whether you’re hosting friends or enjoying a cozy night in. You’ll find satisfaction in knowing exactly what goes into your food! Remember, the key to achieving the perfect taste lies in using quality ingredients and following the instructions closely. Happy baking!
Print
Psyllium Husk Breadsticks
- Total Time: 2 hours 40 minutes
- Yield: 12 breadsticks 1x
- Diet: Gluten-Free
Description
Delicious and gluten-free breadsticks made with psyllium husk.
Ingredients
Scale
- 1/4 cup whole psyllium husk
- 1 3/4 cups warm water
- 1 1/2 cup tapioca starch
- 1 1/4 cup millet flour
- 6 tbsp buckwheat flour
- 1 1/2 tbsp sugar
- 2 1/4 tsp instant yeast
- 2 tsp salt
- 1 tbsp melted butter
- 2 tsp apple cider vinegar
- 2 tbsp unsalted butter, melted
- 1/4 tsp salt
- 1/4 tsp garlic powder
Instructions
- Pan Prep: Line 2 large baking sheets with parchment paper and set aside.
- Psyllium Gel: Mix water and psyllium husk together in a medium bowl. Set aside to thicken up as you prep the other ingredients.
- Flour Mixture: Whisk tapioca starch, millet flour, buckwheat flour, sugar, yeast and salt together in a large bowl until well combined.
- Combine Wet Ingredients: Stir melted butter and vinegar into the psyllium mixture.
- Add Wet to Dry Ingredients: Pour the psyllium gel into the flour mixture. Mix together until fully combined. Make sure to scrape down the bottom and sides of the bowl every so often to get all the floury bits. Mix together until you end up with a thick, sticky dough that easily clumps together.
- Knead: Generously dust your hands and a clean work surface with extra flour. Knead the dough on the floured surface, adding a bit more flour as you knead until the dough is smooth and slightly tacky.
- Divided & Shape: Divide the dough into 12 equal portions (about 70 g or 2 ounces). Roll each dough ball out into an 8-inch log. Transfer to the parchment-lined baking sheet. Repeat with the remaining dough.
- Proof: Cover with foil, plastic wrap or a clean tea towel. Set aside in a warm place for about 2 hours to rise.
- Bake: Preheat oven to 400°F (200°C). Once heated, remove the cover from the breadsticks and bake for 18-20 minutes. Halfway through the cook time, rotate the pans to ensure even cooking.
- Topping: While the breadsticks bake, mix melted butter, salt and garlic powder together.
- Finish: Brush the breadsticks with garlic butter while still hot. Sprinkle additional toppings if desired (like parmesan cheese or fresh parsley). Allow a few minutes to cool then serve and enjoy.
Notes
- Store leftovers in an airtight container for up to 3 days.
- For a more pronounced garlic flavor, increase the garlic powder in the topping.
- Prep Time: 20 minutes
- Cook Time: 20 minutes
- Category: Baking
- Method: Baking
- Cuisine: Gluten-Free
Nutrition
- Serving Size: 1 breadstick
- Calories: 90
- Sugar: 1g
- Sodium: 148mg
- Fat: 4g
- Saturated Fat: 2g
- Unsaturated Fat: 1g
- Trans Fat: 0g
- Carbohydrates: 13g
- Fiber: 2g
- Protein: 2g
- Cholesterol: 14mg